

Ever started a workout and wondered halfway through, “Am I actually ready for this?”
It happens a lot. Beginners often jump into a plan without knowing their current fitness level. Sometimes the workouts are too hard, sometimes they’re too easy, and either way, it can make progress feel frustrating.
That’s why doing a Fitness Test for Beginners first can be really useful.
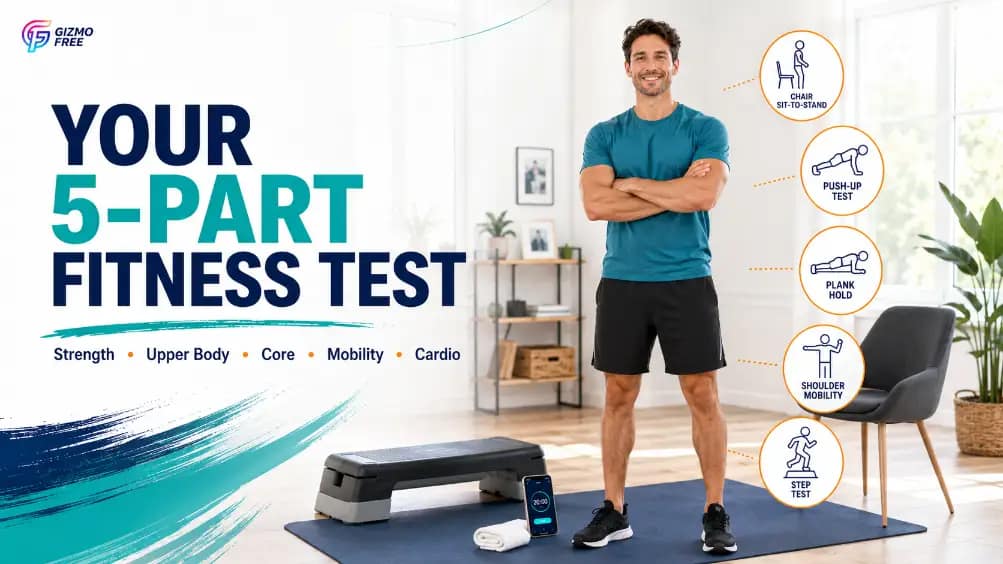
This simple at-home test gives you a better idea of where you’re starting. You’ll check your strength, core control, mobility, and cardio fitness using basic movements and very little equipment.
The goal isn’t to get a perfect score or prove how fit you are. It’s just to see what your body can comfortably handle right now, so you can choose a workout level that actually makes sense for you.
It only takes about 20 minutes. Grab a sturdy chair, clear some space, and let’s see where you stand.
Most most of us start a workout plan without any real idea of their current fitness level. They grab a program that looks intense, jump in, and within two weeks they’re either injured or completely burnt out.
Consider this: that’s not a lack of willpower; it’s a planning failure; you need a baseline first. Something honest, but not overwhelming.
A quick at-home fitness test does exactly that, it gives you a starting point based on what your body can actually do today, not some Instagram highlight reel. Nine times out of ten, it’s a practical self-check, which means if you have any health concerns, talk to your doctor before you test.
Key Point
Here’s what you need to know: if you’re short on time.
-
- The five-part test takes about 20 minutes and uses a sturdy chair, a phone timer, and an open space free of clutter.
- You’ll assess lower-body strength, upper-body function, core control, mobility, and cardio tolerance, all with beginner-friendly modifications built in.
- Your results slot you into one of three levels: Foundation, Building, or Ready to Progress, so you can pick the right starting plan and avoid doing too much too soon.
- After about 4-6 weeks of consistent training, retest and watch your numbers improve, that’s your reward.
Complete the Five-Part Beginner Fitness Test at Home
This isn’t about maxing out; it’s about finding a safe, repeatable starting point.
You just need a sturdy chair (no wheels, no slides), a wall or countertop for balance, a phone timer, and enough floor space to move without bumping into furniture. And if you prefer to keep your training just as simple, this home workout without equipment is a good place to start after completing the test.Do each test in the order below, rest fully between efforts, and stop immediately.
If you feel pain, dizziness, or unease.
Lower-Body Strength: Sit-to-Stand Test
Now, grab your chair and place it against a wall, so it can’t slide, which means set a 30-second timer.
Sit down with your feet planted flat, roughly hip-width apart, so cross your arms over your chest. Now, stand all the way up and sit back down with control, that’s one rep.
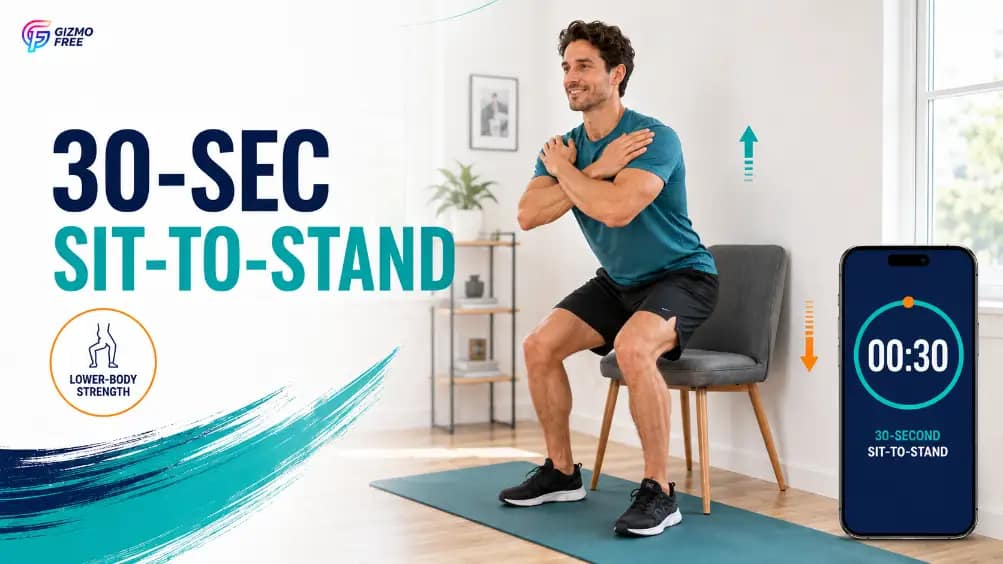
Realistically, count how loads of full sit-to-stand cycles you complete in 30 seconds, which means don’t rush; form is what counts.
If you need to use your hands to push off your thighs. Stop if your knees hurt or you feel unsteady.
Pro Tip box:
Upper-Body Function: Modified Push-Up Test
Here’s the thing – picking up that thread from. Before, choose a variation you can actually handle with great control. Wall push-ups are easiest, countertop or sturdy chair inclines are a step harder, knee push-ups come next, and standard push-ups are the toughest.
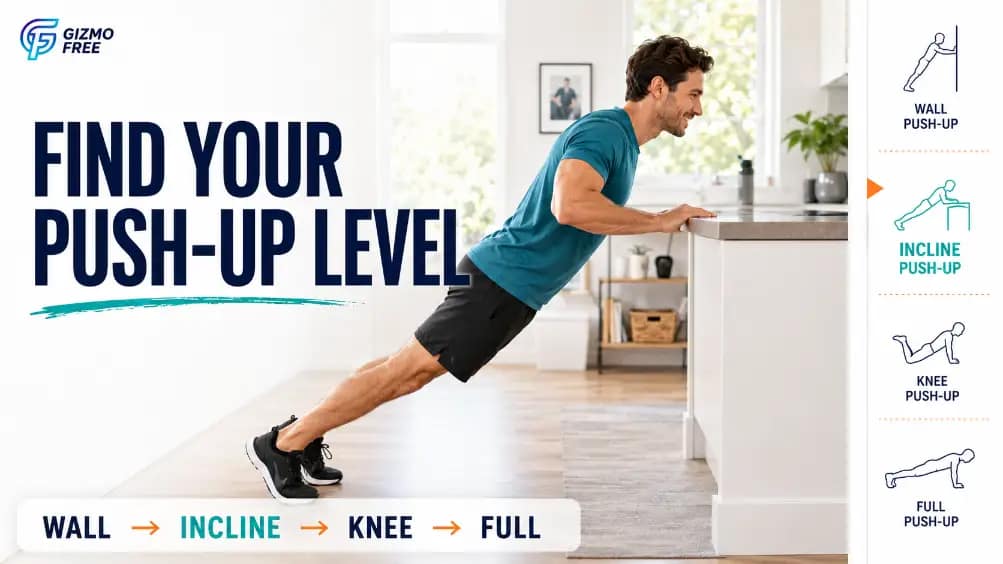
In real-world terms, set a timer, no rush, just go at a steady pace. More constantly than not, your body should stay in a straight line from shoulders to hips; don’t let your back sag or your elbows flare too wide.
When you can’t keep that line, stop. Plus, record both the rep count and which variation you used.
Warning box:
Core Control: Timed Plank Hold
Naturally, get onto your forearms and knees (or toes if you can). Stack your elbows under your shoulders, squeeze your glutes, and pull your belly button toward your spine. The goal is a rigid plank, no, actually, hold on, hiking hips, no looking up at the ceiling. Start the timer and hold that position only as long as you can keep it clean.
The moment your hips sag or your lower back arches, the test is over, so record the time you held with honest form.
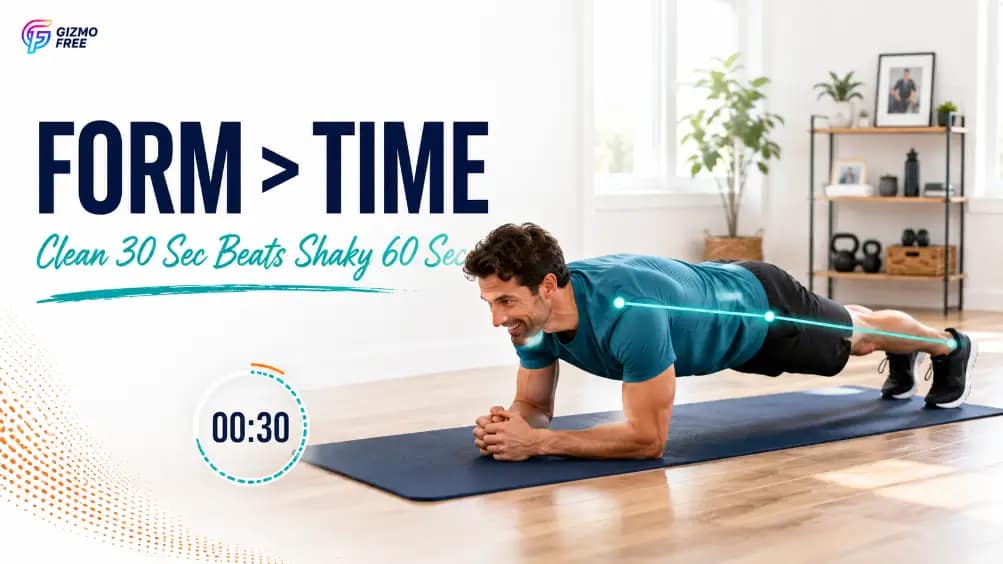 If you couldn’t hold even a knee plank, note that, it tells you where your core work calls for to begin.
Key Point box:
Mobility Screening: Shoulder and Hamstring Reach
You’re not trying to touch your toes here. These two blazing checks just flag obvious movement restrictions.
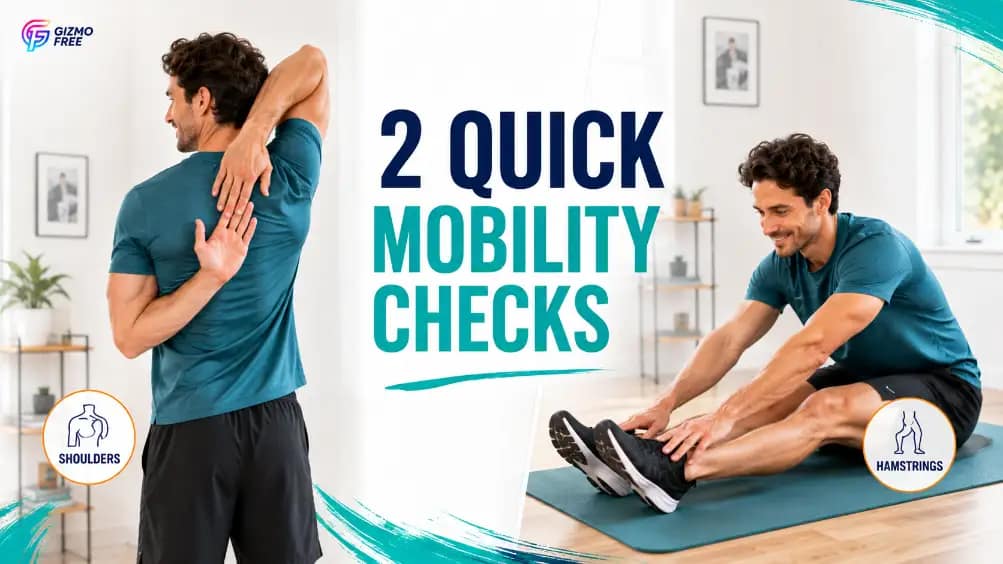
For the shoulder check: reach one arm over your shoulder and the other up your back, trying to touch your fingertips behind your back. Pass if you can touch comfortably on both sides, so fail if there’s a gap or sharp discomfort.
Yet, for the hamstring check: sit on the floor with both legs straight out in front, and slowly reach toward your toes. Move only as far as feels comfortable; no bouncing, which means. If you can touch your shins but not your toes, note it. This isn’t a flexibility competition; limited mobility may mean you need to tweak certain exercises like lunges or overhead presses. If mobility feels like a weak spot, try this gentle morning mobility routine to work on your range of motion without pushing too hard.
Cardiovascular Tolerance: 3-Minute Step Test
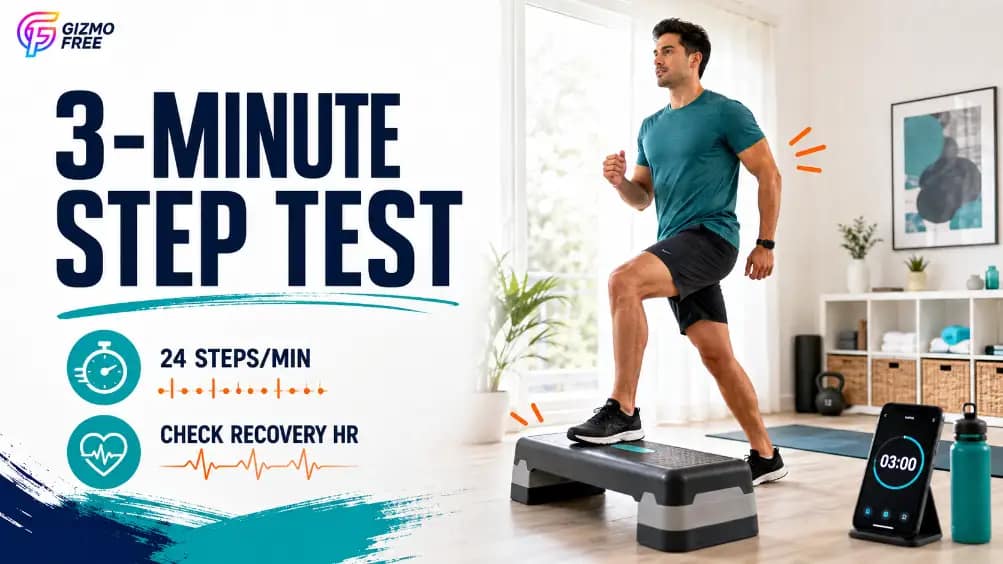
For the average user, grab a low, stable step about 2–3 inches high (a sturdy book or a low aerobic step works). Set your timer for 3 minutes. Step up with one foot, then the other, then down with the One thing to note, then the On top of that, that’s one cycle.
Aim for a consistent pace of about 24 steps per minute (one up, one down counts as one step)
 . Plus, keep a rhythm.
Still, after 3 minutes, sit down immediately and find your pulse on your neck or wrist. Count the beats for 15 seconds and multiply by 4 to get your heart rate in (and rightly so) beats per minute.
What does that mean in practice? Or just note how tough it felt on a 1-to-10 scale. If cardio was one of your weaker areas, indoor walking for beginners is an easy way to start building endurance at home. If you get dizzy or your heart pounding feels erratic, stop early and note that.
Safety Standards and Warm-Up Requirements Before Testing
A 5-to-10-minute warm-up isn’t optional, it makes the scores more useful and lowers your injury risk.
March in place, do gentle arm circles, easy leg swings, and a few shallow bodyweight squats. You want to feel lightly warm, not winded.
Test on a non-slip surface and keep the area free of clutter. Rest at least 1-2 minutes between tests, and take longer. If you’re still breathing a pain. Hydrate beforehand, but don’t chug water right. Before the step test; and remember: these tests don’t diagnose any medical condition.
Or joint pain, stop and get proper medical advice. If you have chest pain, severe shortness of breath.
Scoring System for Identifying Your Beginner Baseline
Now, now for every part that gives you direction. Your scores from each test fall into one of three levels:
Foundation ,Intermediate Beginner, and Ready to Progress giving you a rough guide, the table below. Use the lowest level you scored across all tests to decide your overall starting point, that’s the honest answer.
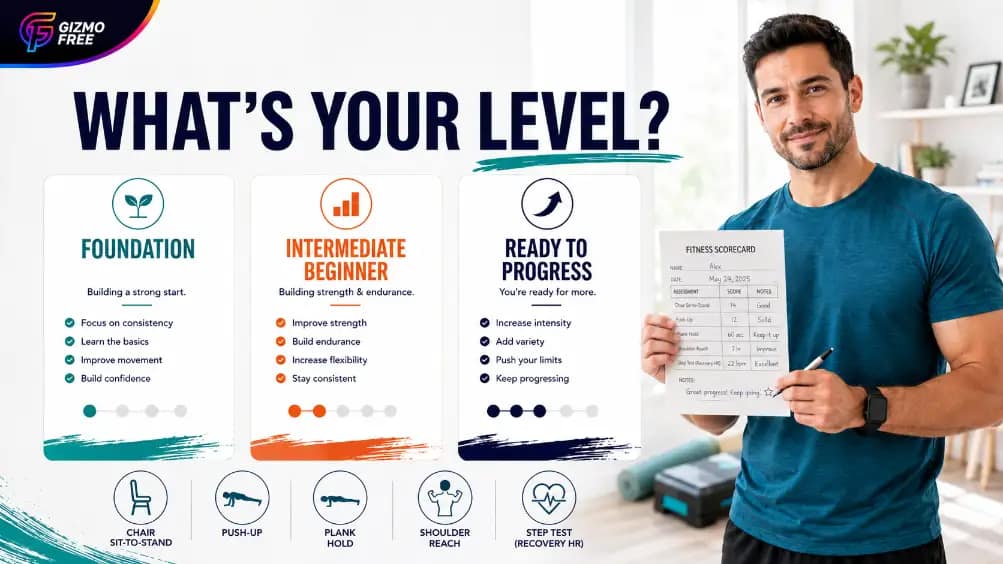
| Test | Foundation | Intermediate Beginner | Ready to Progress |
|---|---|---|---|
| Sit-to-Stand (30 sec) | Under 10 reps (or hands used) | 10–15 reps (no hands) | 16+ reps |
| Push-Up (chosen variation) | Under 5 reps of the easier variation | 5–10 reps | 11+ reps (or full push-ups 5+) |
| Plank Hold | Under 20 seconds (any variation) | 20–45 seconds | 45+ seconds |
| Shoulder Reach | Fail or unable to touch | Touch with some strain | Touch comfortably |
| 3-Minute Step Test HR | Over 130 bpm or felt very hard | 110–130 bpm | Under 110 bpm |
Worked proof: A 35-year-old beginner does 8 chair stands with no hands, 6 knee push-ups, a 30-second plank, passes both mobility reaches with ease, and has a recovery heart rate of 112 bpm. Overall, she’s at Intermediate Beginner level. She’ll select a program that roadblocks her a bit without crushing her.
Tweetable quote:
Visual chart:
Sit-to-Stand Reps by Fitness Level (30-Second Test)
Foundation, 7 reps (or hands used)
Intermediate Beginner, 12 reps
Ready to Progress, 18 reps
How to Make Your Results More Consistent
Yet, small details can skew your numbers. Plus, surfaces matter: a carpeted floor gives you extra grip for planks.
If you think about it, but then again. While a hardwood floor might feel slippery, the stability difference can add or subtract a few seconds to your plank hold. Test on the same surface every time. Chair height plays a role too; a lower chair makes sit-to-stands harder. So so stick with the same chair for retests.
Then again, time of day matters for cardio: your heart rate response varies if you’re dehydrated or post-meal. Do your next test at roughly the same time and under similar conditions. If you nail these variables.
What to Do After Your Fitness Test
Your test result tells you exactly which starting point suits your body. More all the time than not, for Intermediate Beginner, add light resistance and a bit more volume. If strength is one of your main goals, this beginner strength training plan at home gives you a simple way to start building it gradually.
You’ll see how this ties into the previous point, for Ready to Progress, you can handle structured circuits and moderate intensity. The key is to start from, and where you’re; not where you think you should be. Not sure what to do next? These beginner workout exercises will help you build the basic movement patterns before moving on to harder workouts.
- Pick your starting level, use the lowest test score across all categories to determine Foundation, Intermediate Beginner, or Ready to Progress.
- Download the 7-day beginner plan, choose the version that matches your level and schedule your first workout tomorrow.
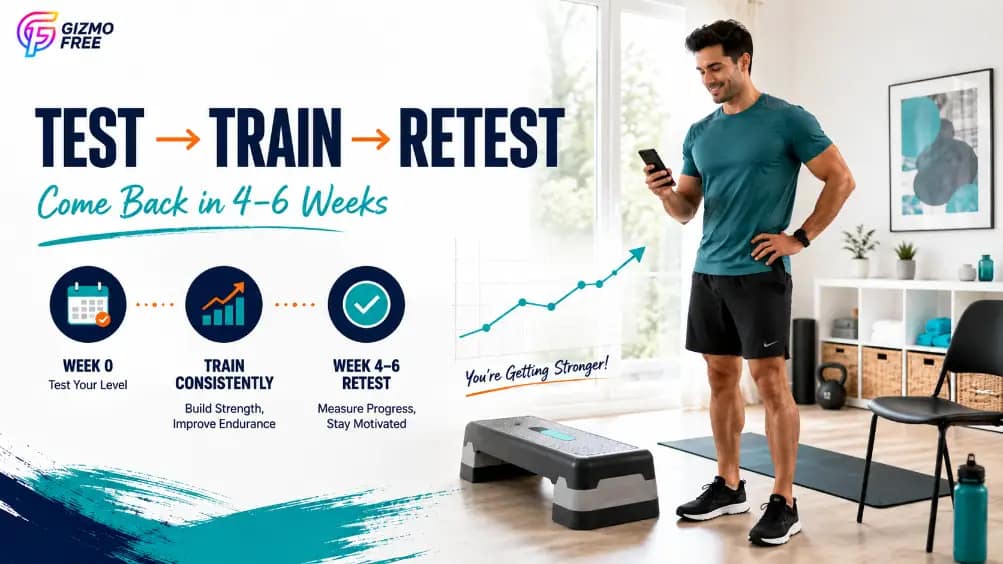
- Retest in 4–6 weeks, set a calendar reminder; consistent practice should shift you into the next level by then. In the meantime, following a structured 30-day fitness challenge for beginners can help you stay consistent between assessments.
- Track your numbers, jot down your reps, holds, and heart rate in a notes app so you can see the trend.
FAQ
How often should I retest my fitness at home?
Retest every 4 to 6 weeks.
That gives your body enough time to adapt to a beginner program without obsessing over daily swings. A 4-week retest works well if you’ve been consistent and feel stronger. If life got in the way, wait a bit longer.
What if I can’t do even one push-up from any variation?
Start with wall push-ups.
Lean against a wall and press away, that’s a safe starting point that still teaches the movement pattern. Count the reps you can do with good form and use that as your baseline. Over weeks, gradually lower the angle by moving to a countertop or sturdy chair.
Can a home fitness test replace a doctor’s checkup?
No.
This assessment is strictly a fitness starting-point tool. Time will tell. It doesn’t screen for heart conditions, joint problems, or any other medical issue.
Always get a medical okay. If you have any symptoms or haven’t exercised in a long time.
Is it normal to feel sore after the test?
Mild muscle soreness is normal If your body isn’t used to the movements. Soreness that lasts more than a couple of days or sharp joint pain is a sign you need to scale way back. Start with the Foundation level and ease in.
What if my scores are all over the place across tests?
Take your lowest level. If you’re a Foundation in core but Ready in mobility, your overall starting point is Foundation. That ensures you don’t overload your weakest link. Over time, those weak points catch up.
🔍 Research Sources
Verified high-authority references used for this article